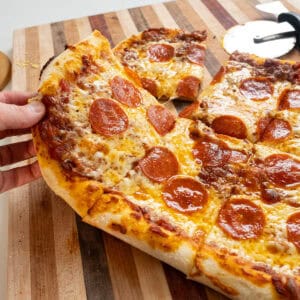
The biggest issue with recreating NY Style Pizza Dough is not having a NY Style Pizza Oven. I've spent the last 5 years working on this New York Style Pizza Dough, so you can make pizza right at home with the tools everyone has in the kitchen. No need for a mixer, pizza oven, or pizza stone!
Looking for more toppings for your pizza? Try adding Sauteed Rapini with Garlic!
A Quick Look at The Recipe
- ✅Recipe Name: New York Style Pizza Dough
- ⏲️Ready in: 1 day
- 👪Makes: 2 doughs
- 📋Main ingredients: Bread flour, semolina flour, olive oil.
- ⭐Why You'll Love This Recipe: This is the perfect NY-style pizza dough recipe for people with basic cooking tools in their kitchen.
Jump to:
Why This Recipe
Being a born and raised New Yorker, I've been missing pizza since the day I left Long Island. Even an hour outside of the city, and I felt like something was off. In the past 10 years, I've slowly been trying every pizza dough recipe out there on the hunt for something that would be perfect.
NY style Pizza dough is historically made with bread flour. But with normal oven temperatures or cooking on my gas grill, I could never get that classic golden brown crispy bottom. So I started adding semolina flour to my bread flour.
Here's why you should use this combination of flour for at-home pizza making:
- Semolina flour will brown faster in an at-home oven.
- The bread flour allows the dough to be elastic enough to stretch out at home (semolina on its own is harder to stretch).
- Semolina flour adds a rustic, crispier bite while the bread flour maintains that NY chewy texture.
- You can ferment this dough for up to 72 hours to add that bit of sour flavor to the crust.
Ingredient Notes and Substitutions
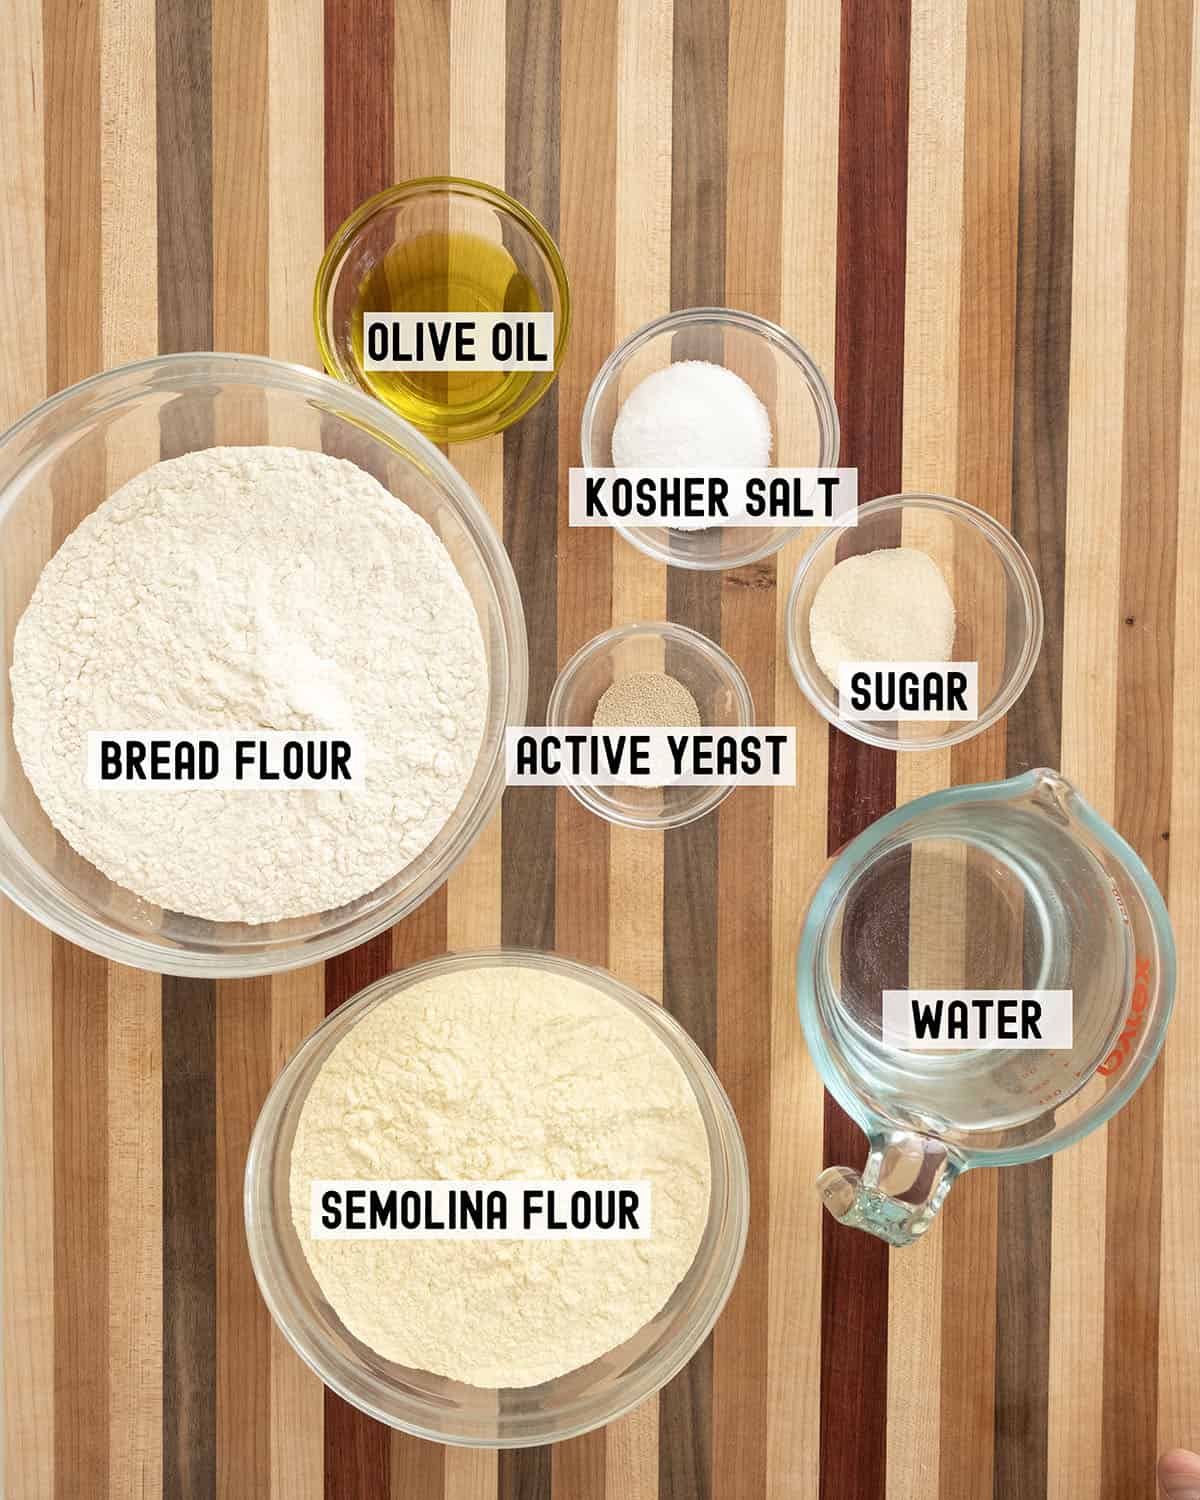
- Flour- 50% Semolina/50% bread flour. The reason we use this combination is to get as close to crispy AND chewy in your oven or on your grill! We use 100% bread flour in our Cast Iron Focaccia.
- Extra Virgin Olive Oil- Olive oil is a must for cooking pizza at home, especially for beginners. It makes it a lot easier to stretch the dough without ripping and helps brown the dough while cooking.
- Sugar- You need a bit of sugar, mainly to activate the yeast.
- Salt- There are a bunch of technical reasons to add salt, like stronger gluten bonds and stretchier doughs, but the flavor is greatly improved with salt added to the dough.
- Yeast- I combine active yeast with lukewarm water and sugar to make sure my yeast is alive. You can substitute instant yeast.
*Please see the recipe card below for more information on the ingredients.
How to Make a NY Style Pizza Dough
Follow the steps corresponding to the numbered photos below.
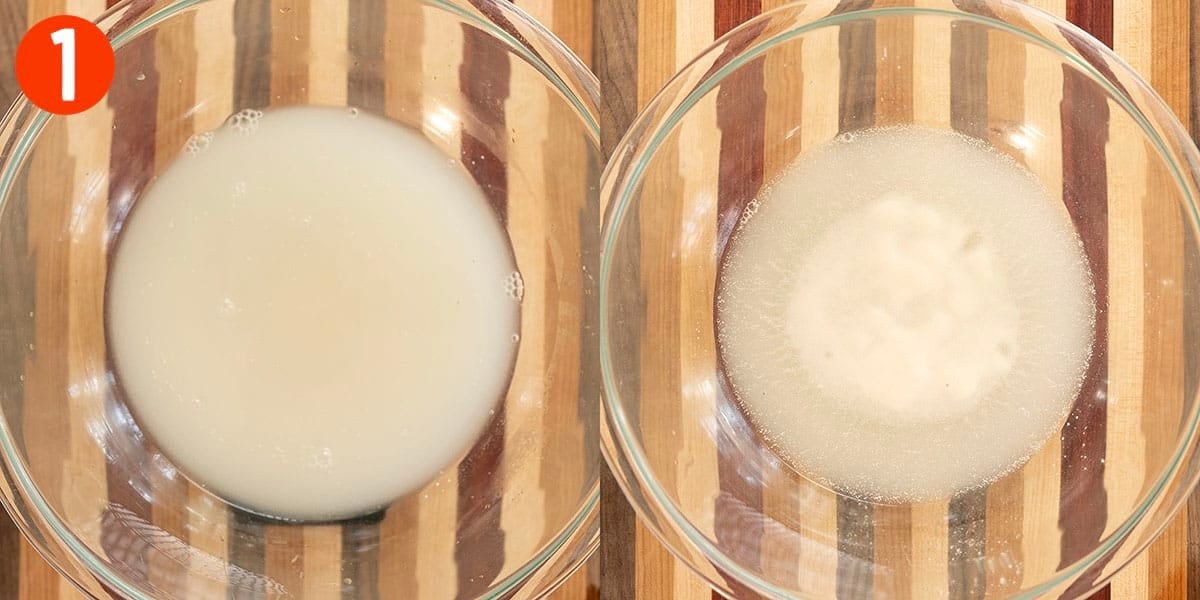
Step 1: In a large bowl, whisk together lukewarm water and sugar. Then whisk in the yeast and let it sit for 10 minutes until it begins to bubble.
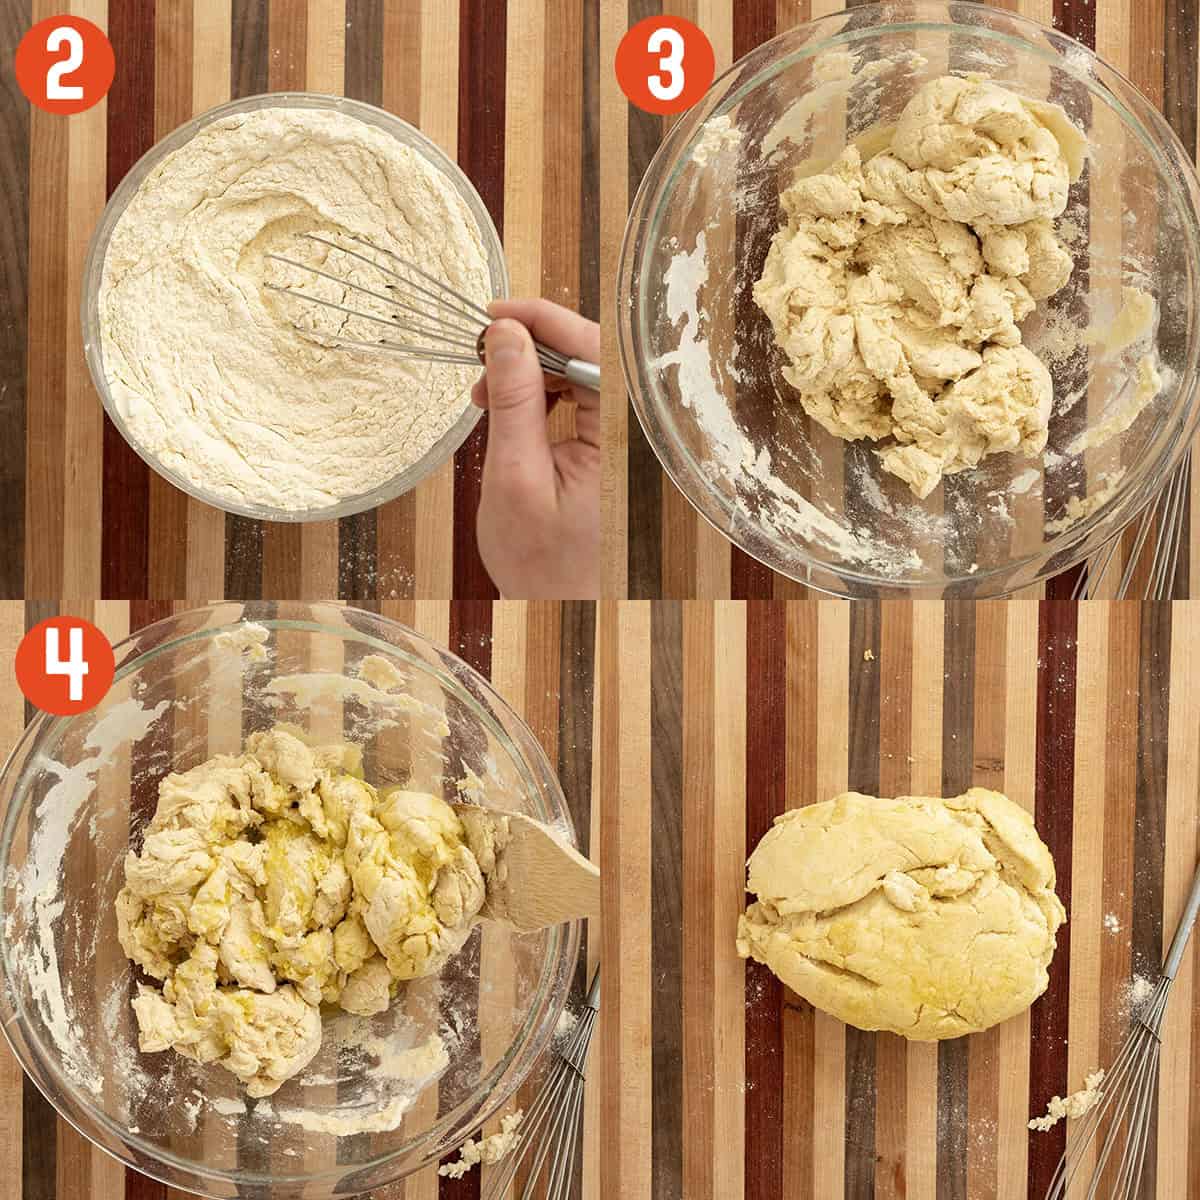
Step 2: In a large bowl, whisk together semolina flour, bread flour, and salt until well combined.
Step 3: Slowly pour the dry ingredients into the wet ingredients, using a wooden spoon to mix together. Continue adding and mixing until the ingredients are combined into a shaggy mass.
Step 4: Then, pour the olive oil into the dough and use the wooden spoon to mix it into the dough. Place the dough onto a work surface, such as a wooden cutting board or your counter.
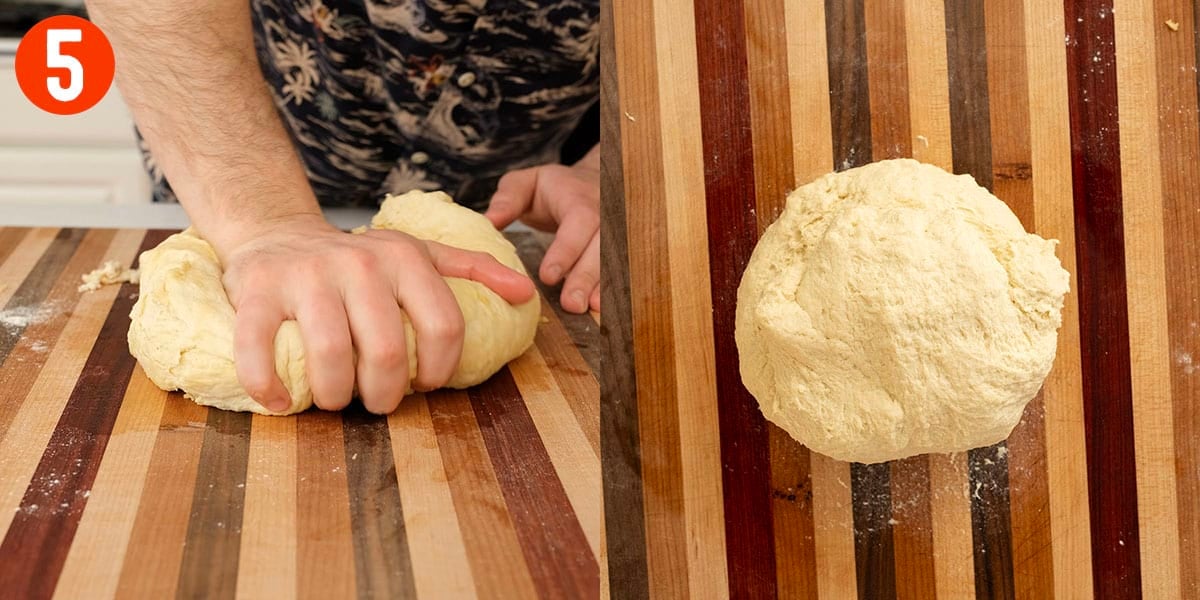
Step 5: Place the dough onto a floured work surface. Knead the dough for 5-7 full minutes until smooth.
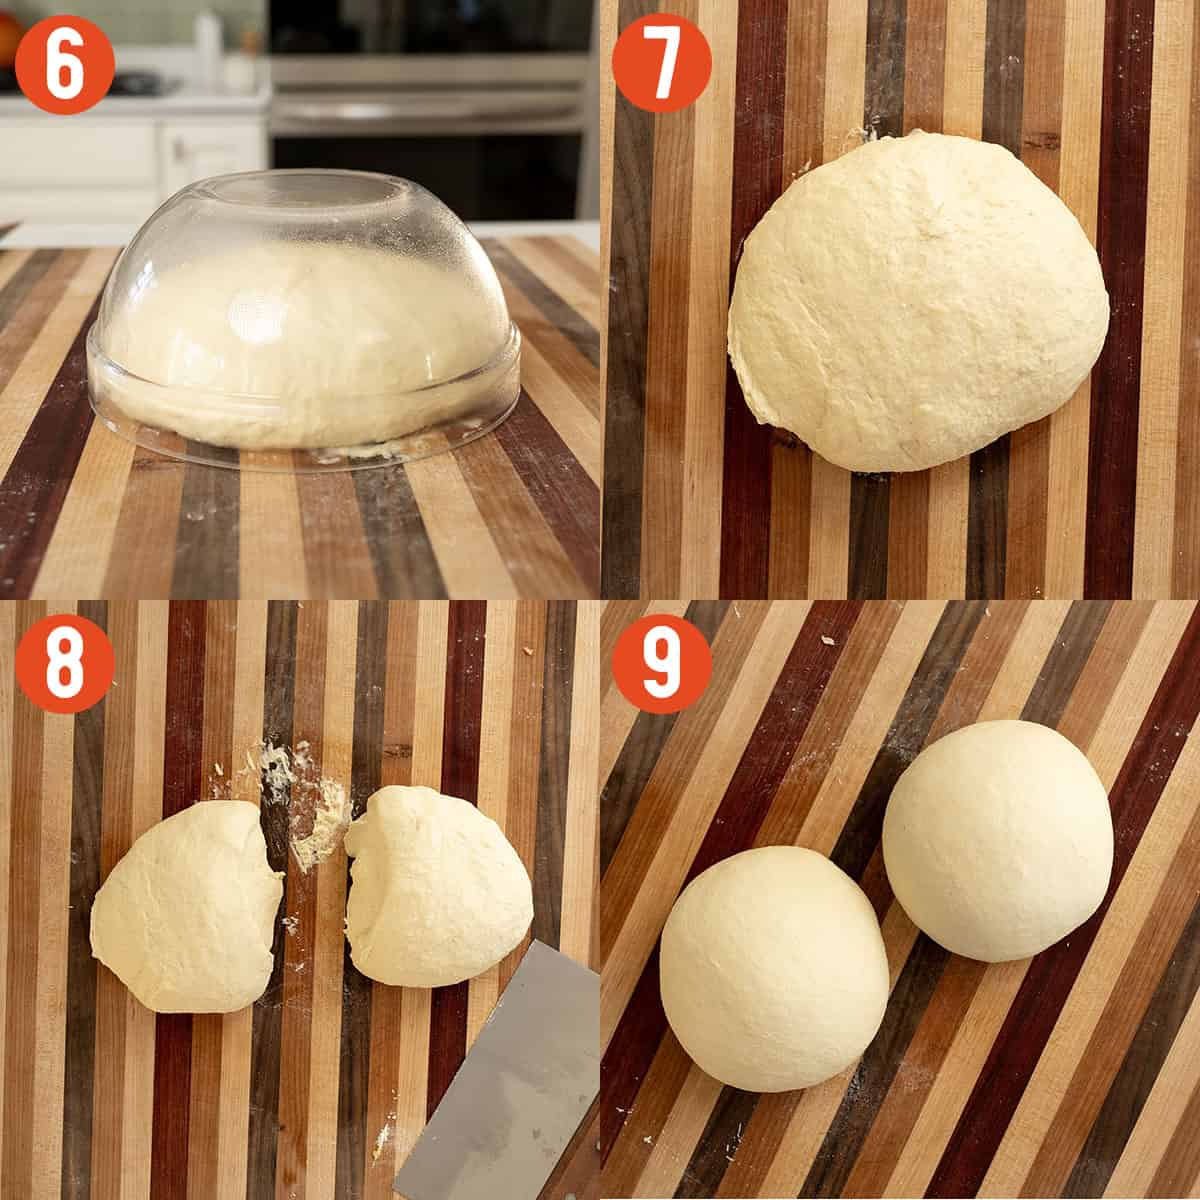
Step 6: Cover the dough with a clean bowl and let it rest for 45 minutes.
Step 7: Remove the bowl from the dough.
Step 8: Use the bench scraper and cut the dough in half.
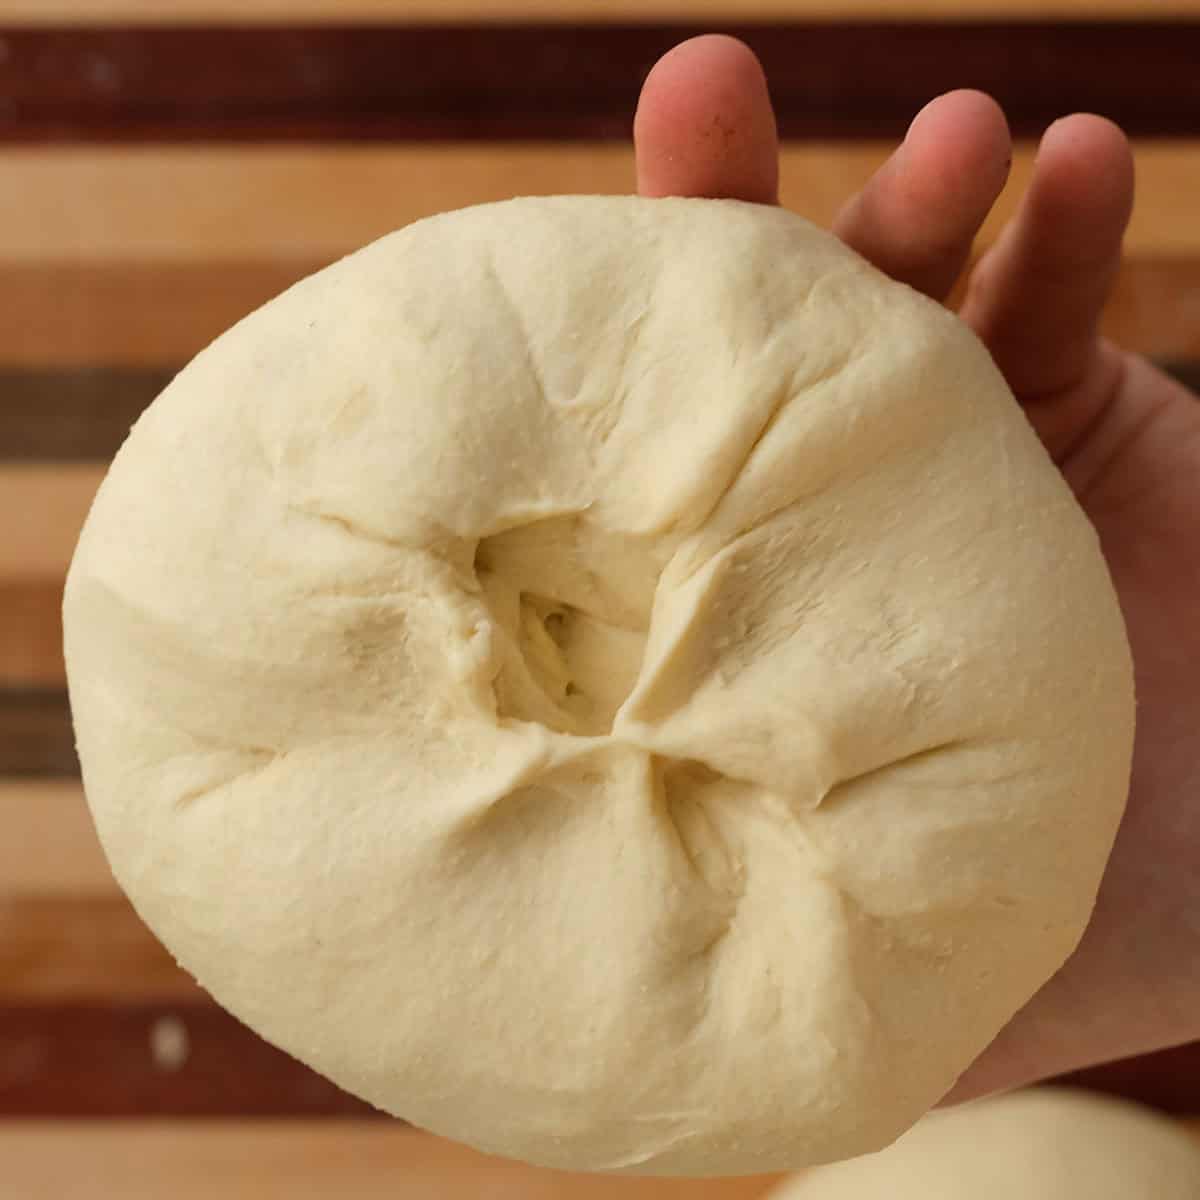
Step 9: Use your hands to roll the dough into itself. Keep turning and pulling the dough into itself until the top is smooth. Pinch the bottom to keep it together as shown in the image below. Place each dough into a bowl drizzled with olive oil and cover with plastic wrap.
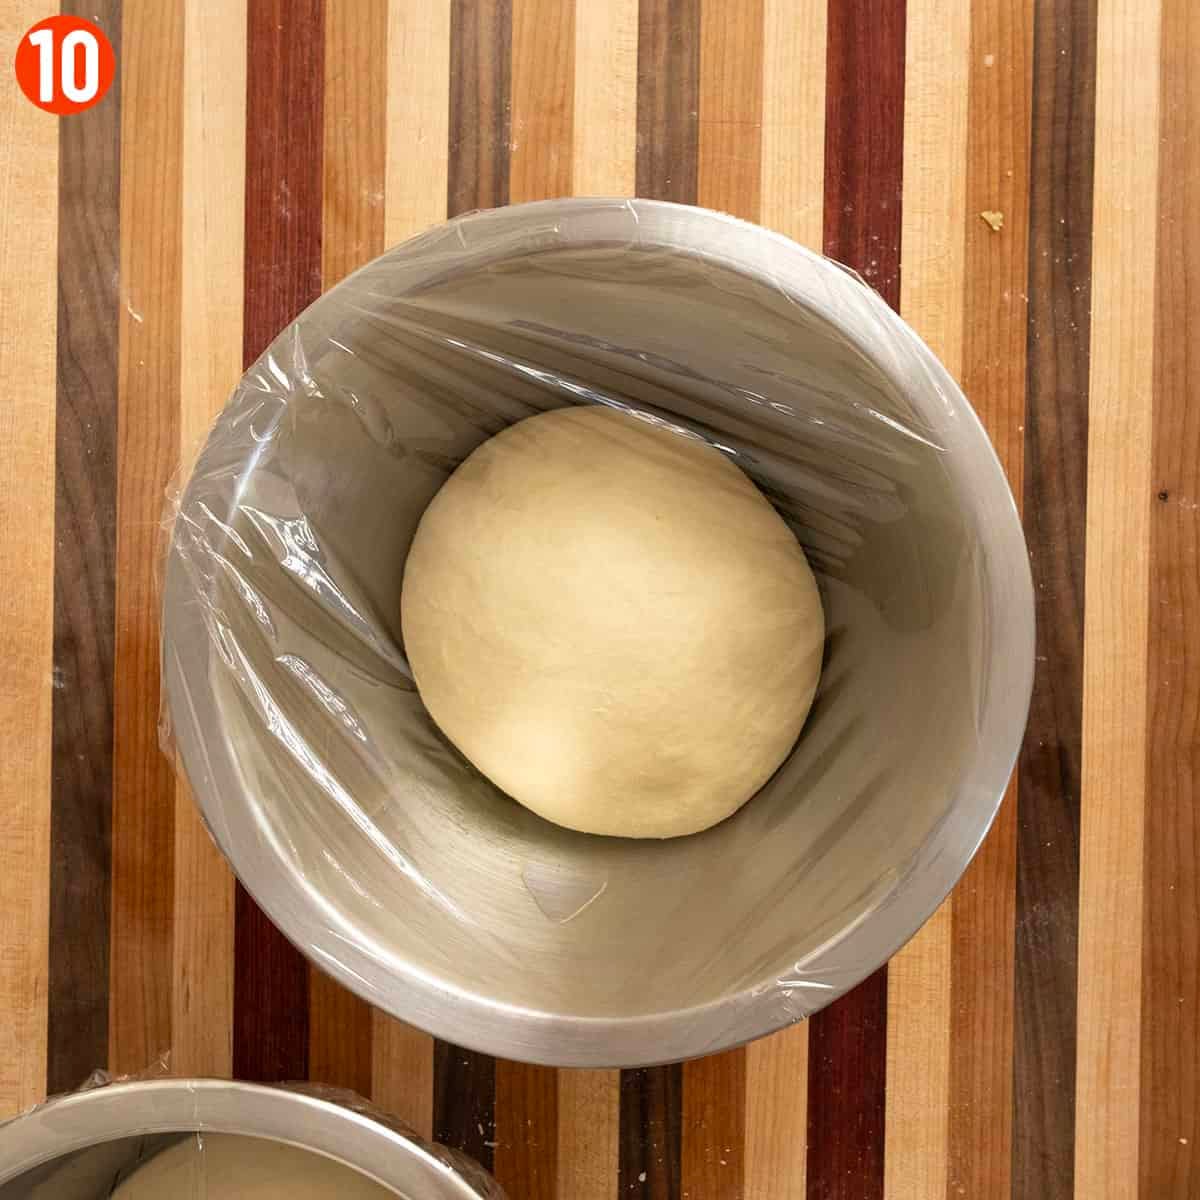
Step 10: Place the dough in the fridge for at least 24 hours.
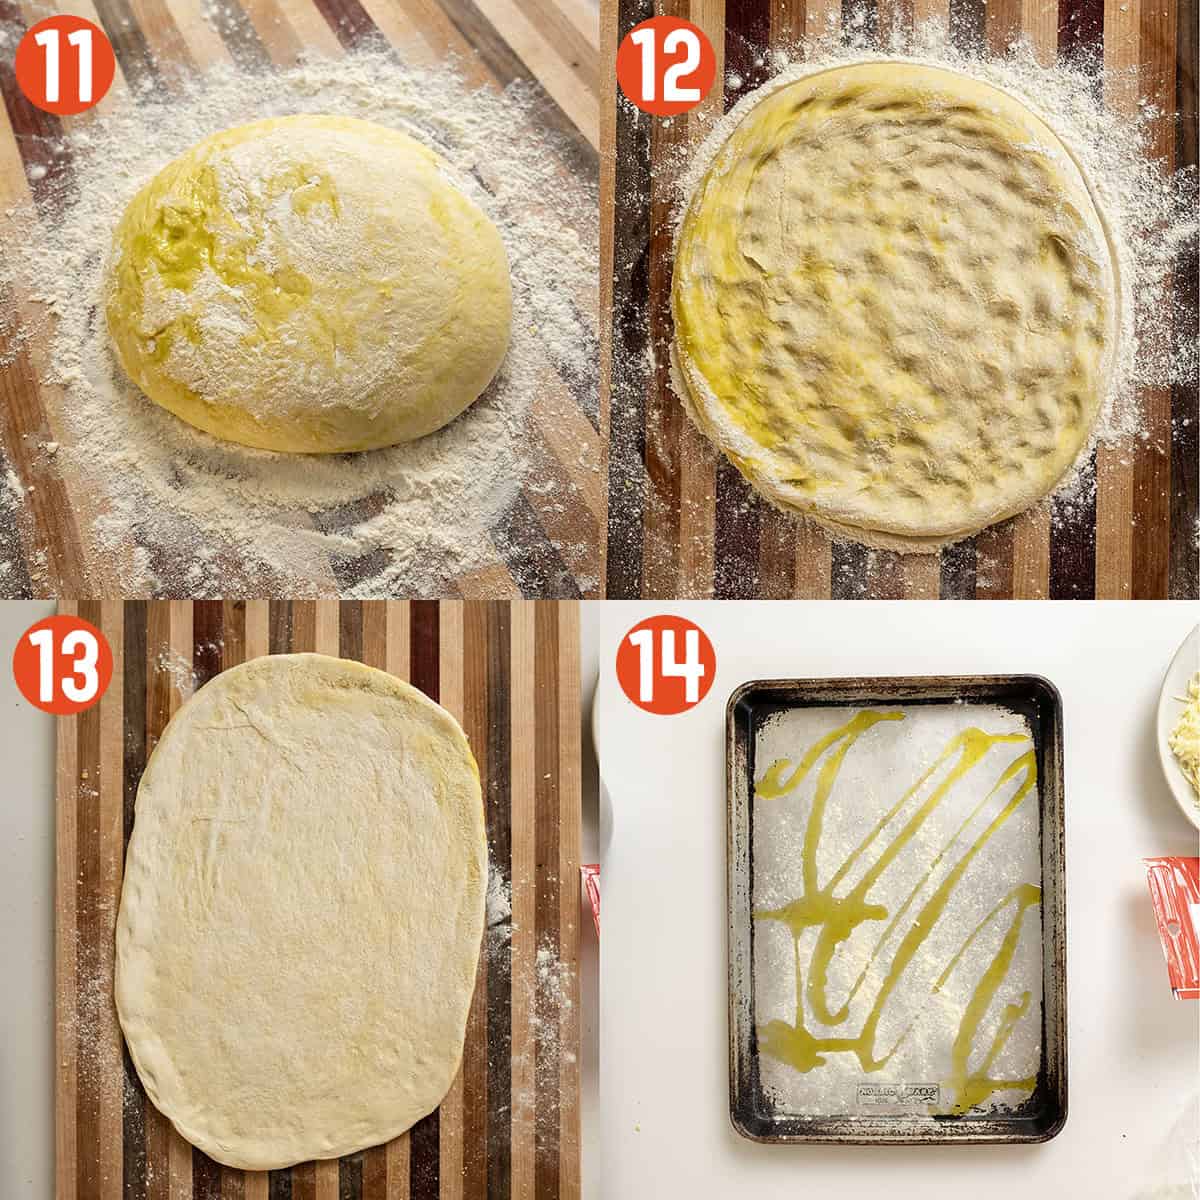
Step 11: Remove the dough from the fridge 2 hours before using. Flour a work surface like a wooden cutting board or granite counter. Turn the bowl upside down and place the dough on the floured surface. Add a bit of flour to the top of the dough as shown in PHOTO 11.
Step 12: Use your fingers and start pressing down into the center of the dough bowl. Start spreading the dough into a large circle or oval.
Step 13: Once you have created a circle, pick up the dough and place it over your knuckles, slowly stretching it out until the oval is about 13 inches long and 9 inches wide.
Step 14: Drizzle a baking pan with olive oil and sprinkle with semolina flour. Place the dough on the baking sheet.
Best Ways to Cook a New York Style Pizza
There are two options to cook the pizza. I prefer to cook the pizza on my gas grill, but you can also cook it in the oven. Preheat the grill to 550-600℉ or the oven to 500℉.
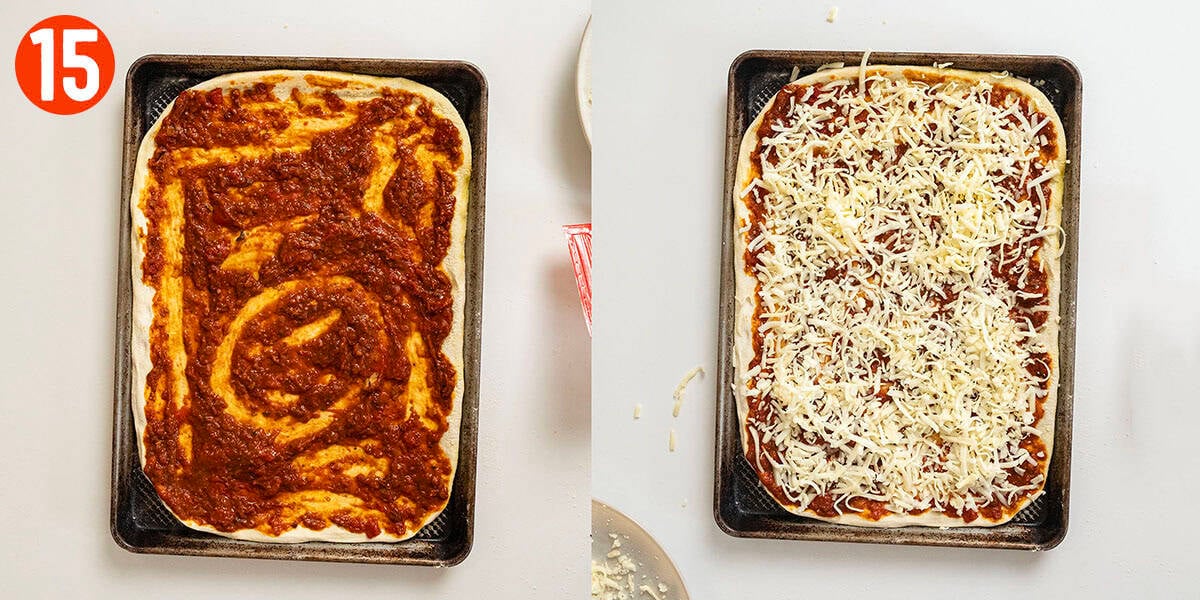
Step 15: If cooking on the grill, spread your sauce on the dough and top with cheese.
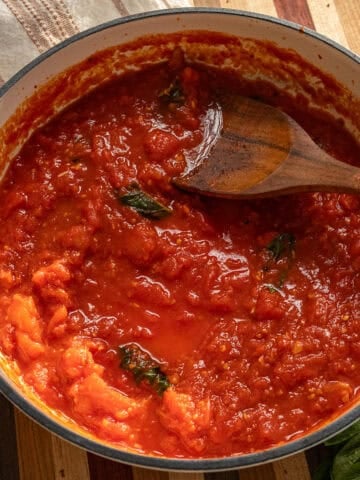
You can use a Homemade Marinara Sauce or your favorite pizza sauce. Sometimes it's fun to switch it up with Creamy Red Pepper Sauce, Spicy Marinara Sauce, or even Spicy Vodka Sauce.
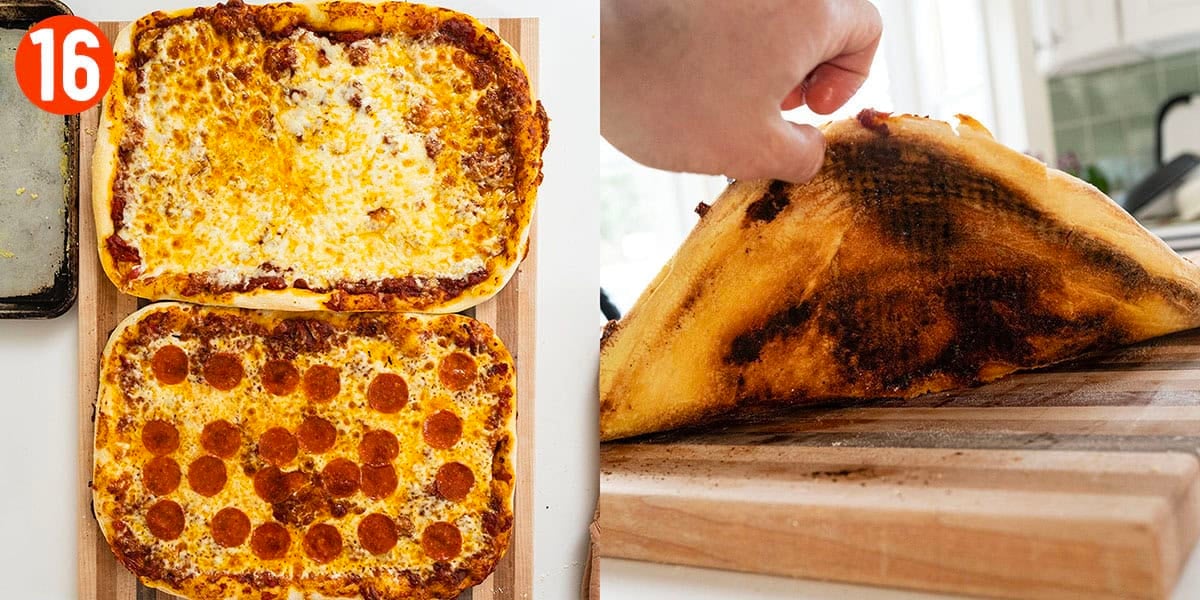
Step 16A: Place the whole baking sheet on the grill and cook for 7-9 minutes until the dough is browned on the bottom.
Step 16B: If cooking in the oven, place the baking sheet with just the dough in the oven for 5 minutes. Then remove and top with sauce, cheese, and toppings. Place back in the oven for 5-8 minutes.
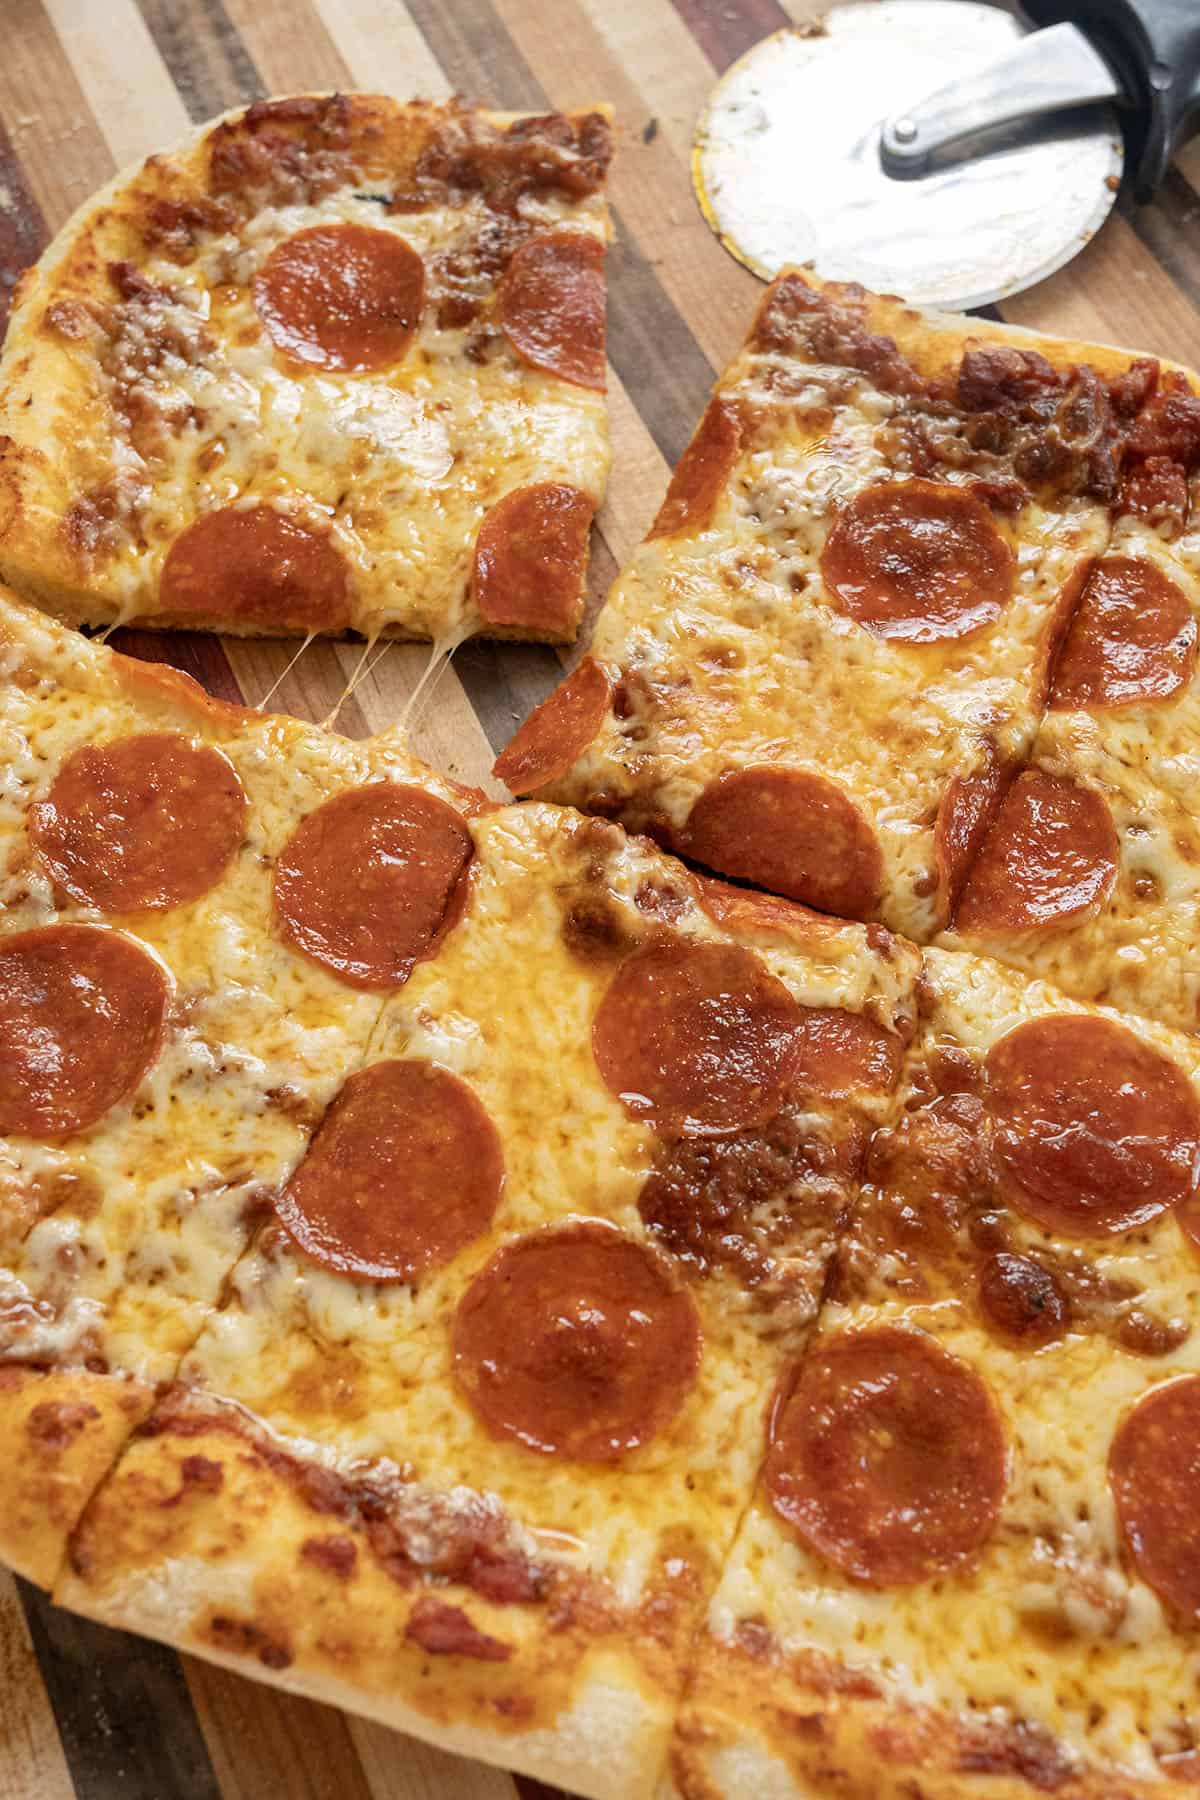
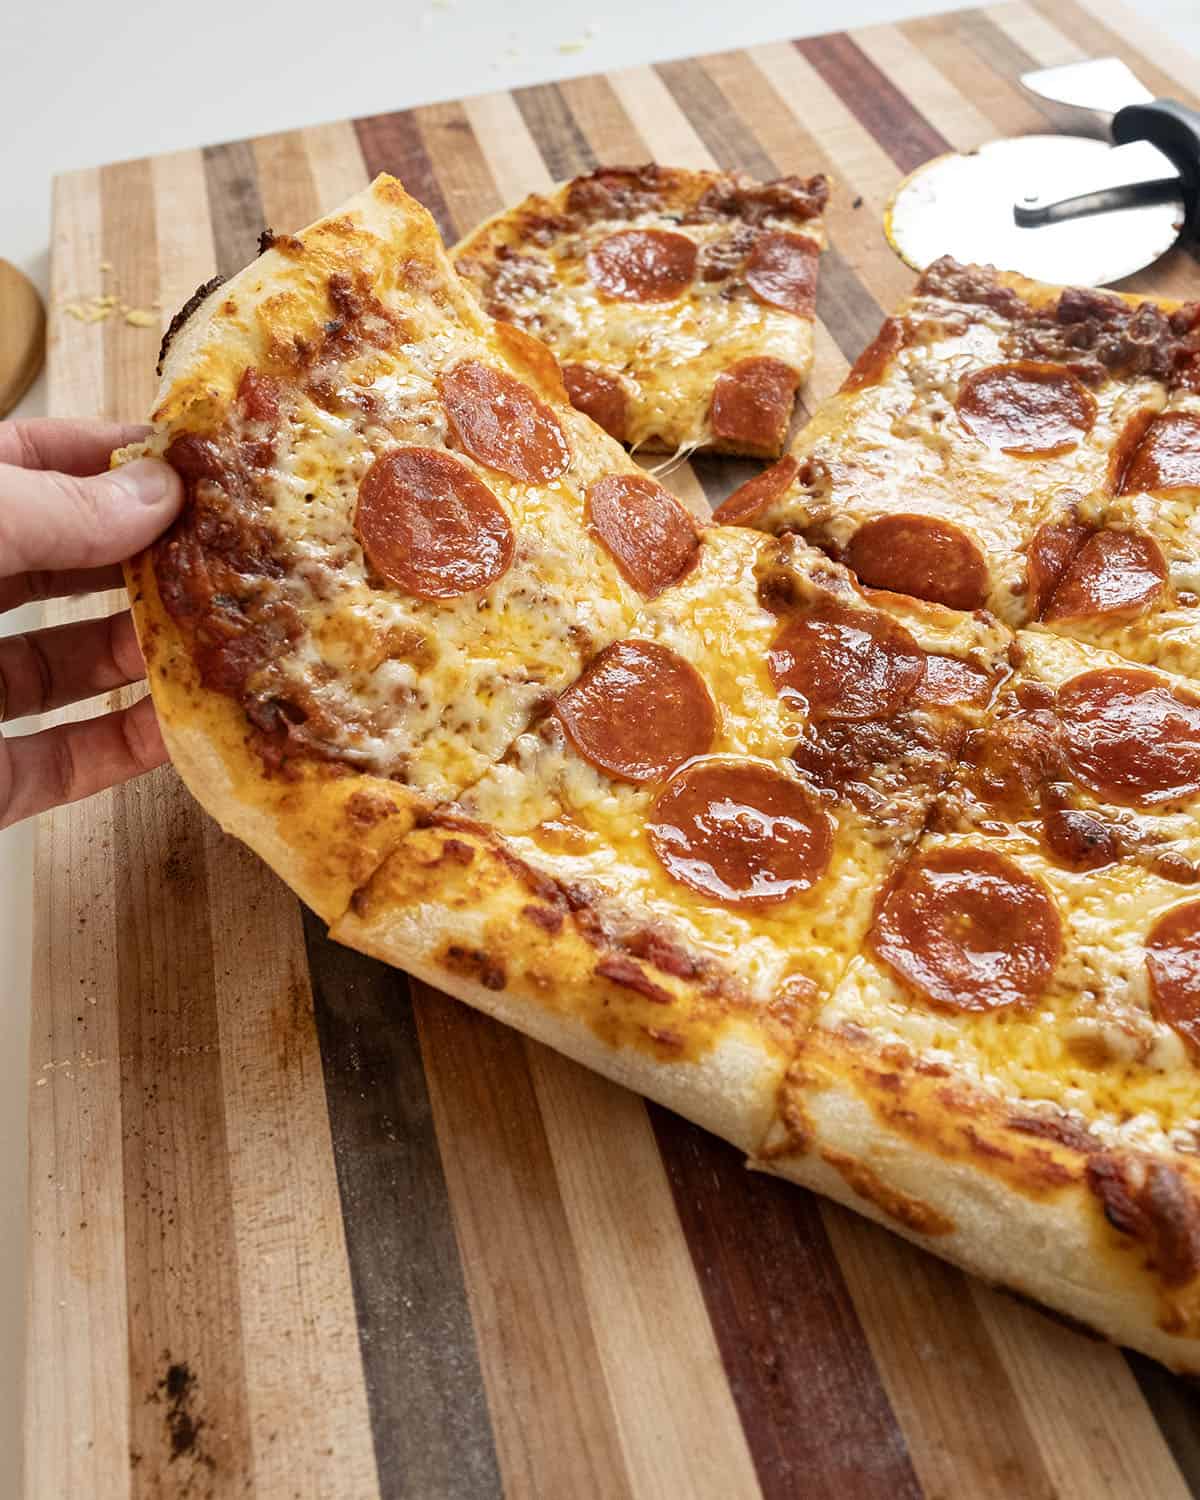
Remove the pizza from the grill or oven and use a pizza cutter to cut. Serve hot!
Pro-Tips
- Sticky? If you start kneading your dough and it feels sticky, cover it with a bowl and wait 30 minutes. Then return to the kneading step.
- Refrigerate dough for up to 72 hours. The longer the better for flavor! It needs to ferment for at least 24 hours.
- Yeast not bubbling? Yeast goes into the lukewarm water to activate or "wake up". If it's not, it means it's dead and you need new yeast.
- The grill is closer to a pizza oven than your oven. If you have a gas grill, take advantage. You can get it preheated pretty hot and get a nice crispy crust with no flop.
FAQs about NY Style Pizza Dough
Weight is an exact measurement of things like flour and water, where volume can be off by quite a bit, depending on who is measuring. It's best to measure with a scale so that you can use the exact measurements the recipe calls for.
The best way is to place it on a baking sheet and cook it in a preheated gas grill. Most people have a gas grill at home, and it's the closest thing that can match the heat of a pizza oven.
Yes, that will work, but I like the addition of semolina flour for this recipe.
It's not the best flour for at-home pizza making because it makes it harder to stretch, and it makes for a lot softer crust. It has less protein than bread flour making the gluten bonds weaker.
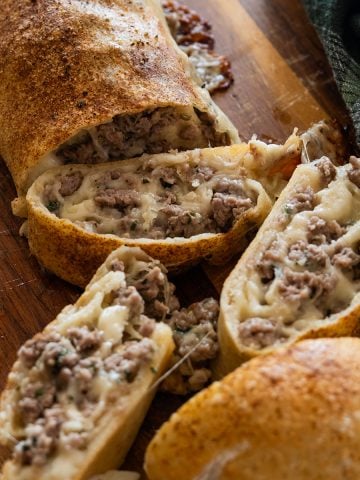
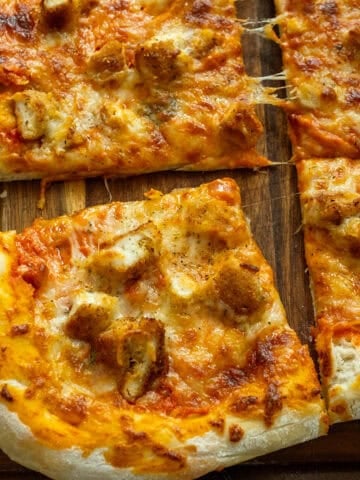
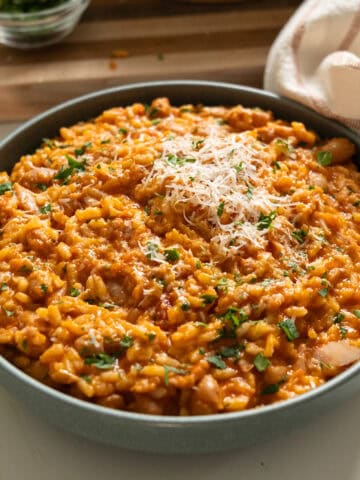
More Recipes to Use NY Style Pizza Dough


Please leave a comment and star rating below in the recipe card! I love to hear what you think of our recipes. Feel free to tag us on Instagram @vindelgiudice.
Save this Recipe So You Don't Forget it
New York Style Pizza Dough
Equipment
- 2 large bowls
- 1 bench scraper
- plastic wrap
Ingredients
- 400 g bread flour
- 400 g semolina flour
- 515 g lukewarm water approximately 2 ¼ cups
- 30 g olive oil approximately 2 tbsp
- 16 g kosher salt approximately 2 tbsp
- 10 g sugar approximately 2 tsp
- 5 g active yeast approximately ½ tbsp
Instructions
- In a large bowl, whisk together lukewarm water with sugar. Then whisk in the yeast and let it sit for 10 minutes until it begins to bubble.
- In a large bowl, whisk together semolina flour, bread flour, and salt until well combined.
- Slowly pour the dry ingredients into the wet ingredients, using a wooden spoon to mix together. Continue adding and mixing until the ingredients are combined into a shaggy mass. Then pour the olive oil into the dough and use the wooden spoon to mix it into the dough.
- Place the dough onto a floured work surface. Knead the dough for 5-7 full minutes until smooth. Then cover the dough with a clean bowl and let it rest for 45 minutes.
- Remove the bowl and, using the bench scraper, cut the dough in half. Use your hands to roll the dough into itself. Keep turning and pulling the dough into itself until the top is smooth. Pinch the bottom to keep it together. Place each dough into a bowl drizzled with olive oil and cover with plastic wrap.
- Place the dough in the fridge for at least 24 hours.
- Remove the dough from the fridge 2 hours before using. Flour a work surface like a wooden cutting board or granite counter. Turn the bowl upside down and place the dough on the floured surface. Add a bit of flour to the top of the dough.
- Use your fingers and start pressing down into the center of the dough bowl. Start spreading the dough into a large circle or oval. Once you have created a circle, pick up the dough and place it over your knuckles, slowly stretching it out until the oval is about 13 inches long and 9 inches wide.
- Drizzle a baking pan with olive oil and sprinkle with semolina flour. Place the dough on the baking sheet.
- There are two options to cook the pizza. I prefer to cook the pizza on my gas grill, but you can also cook it in the oven. Preheat the grill to 550℉ or the oven to 500℉.
- If cooking on the grill, spread your sauce on the dough and top with cheese. Place the whole baking sheet on the grill and cook for 7-9 minutes until the dough is browned on the bottom.
- If cooking in the oven, place the baking sheet with just the dough in the oven for 5 minutes. Then remove and top with sauce, cheese, and toppings. Place back in the oven for 8-10 minutes.
- Remove the pizza from the grill or oven and use a pizza cutter to cut. Serve hot!
Video
Notes
- Sticky? If you start kneading your dough and it feels sticky, cover it with a bowl and wait 30 minutes. Then return to the kneading step.
- Refrigerate dough for up to 72 hours. The longer the better for flavor! It needs to ferment for at least 24 hours.
- Yeast not bubbling? Yeast goes into the lukewarm water to activate or "wake up". If it's not, it means it's dead and you need new yeast.
- The grill is closer to a pizza oven than your oven. If you have a gas grill, take advantage. You can get it preheated pretty hot and get a nice crispy crust with no flop.

TOBY DELGIUDICE says
GREAT AND SIMPLE, THIS IS AN EXCELLENT WAY TO HAVE RESTAURANT LEVEL PIZZA AT HOME.
Vincent DelGiudice says
I've worked on this recipe to make it fool proof for the at home kitchen! It's perfect for those who only have an oven or a grill! Let me know if it works for you!